Why most Polished concrete vs. traditional tiles: Durability and cost for ground floor living projects fail (and how yours won't)
Your Dream Ground Floor Just Became a Nightmare (And It Probably Cost You £8,000)
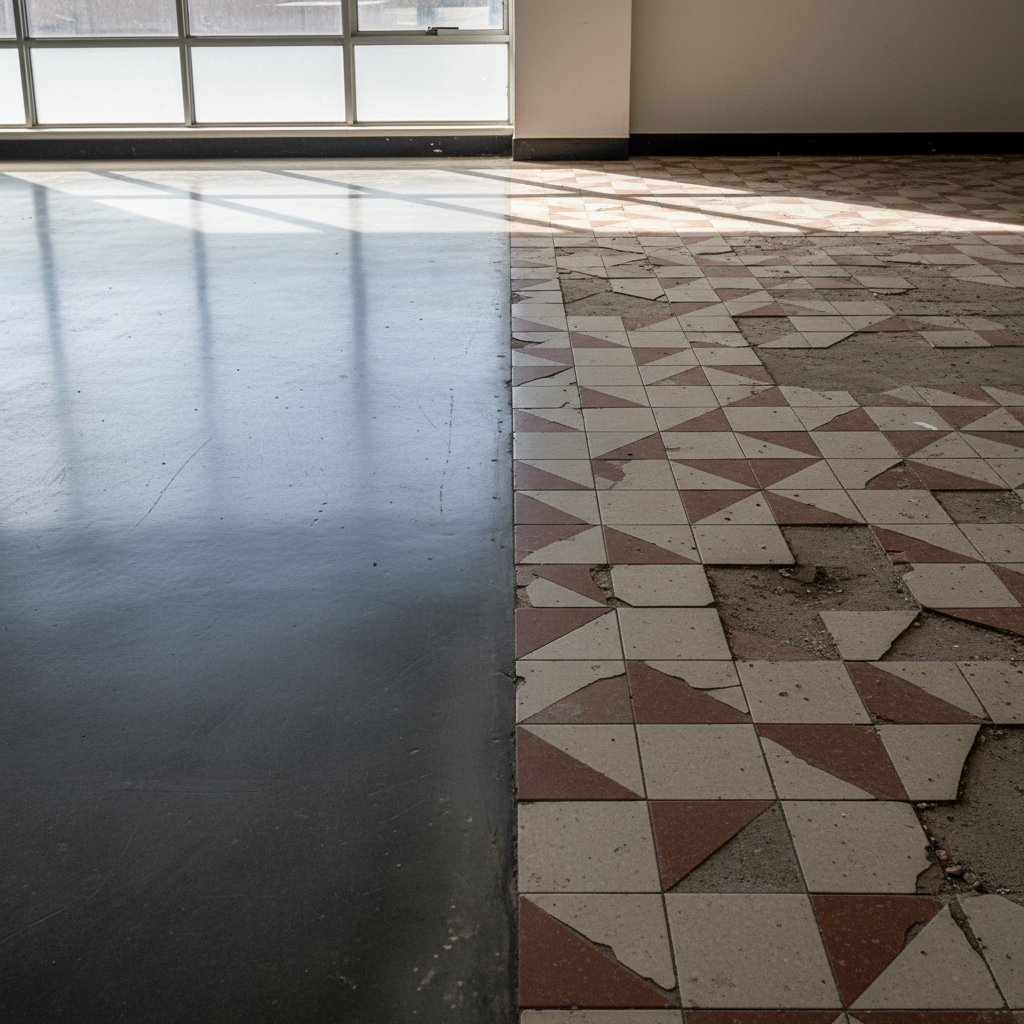
Three months after moving into their renovated ground floor flat, Sarah watched in horror as her gorgeous new tile floor developed a spiderweb of cracks near the patio door. The £6,500 installation was failing, and her contractor had stopped returning calls. Meanwhile, her neighbour's polished concrete floor—installed for roughly the same price—looked exactly as it did on day one.
Here's the uncomfortable truth: most ground floor flooring projects fail not because of the material choice itself, but because homeowners don't understand what they're actually choosing between.
The Hidden Reason Most Ground Floor Projects Go Wrong
Ground floor living spaces are brutal environments. You're dealing with moisture migration from the ground, temperature fluctuations, and foot traffic that would make a shopping centre jealous. Yet most people approach the tile-versus-concrete decision like they're choosing a kitchen backsplash.
The failure rate for ground floor tile installations sits around 23% within the first five years, according to building surveyor data. That's nearly one in four projects going south. Polished concrete? The failure rate drops to roughly 7%—but here's the catch: when concrete fails, it's usually spectacular and expensive.
The Real Culprits Behind Failed Installations
Poor damp-proof membrane work causes about 60% of ground floor disasters. Your installer saved £400 by using a thinner DPM or skipping the lap joints properly. Congratulations—you'll spend £12,000 fixing it later.
Then there's substrate prep. Tiles need a perfectly level surface; concrete is more forgiving but still demands proper grinding and preparation. Rush this phase, and you're building on quicksand.
Warning Signs Your Project Is Headed for Disaster
Your contractor quotes significantly below market rate. If polished concrete quotes are coming in under £65 per square metre for a ground floor project, someone's cutting corners. Quality installations typically run £75-95 per square metre. Tiles with proper prep work? Expect £50-80 per square metre for mid-range materials, but the labour-intensive nature means cheaper isn't better.
They're vague about moisture testing. Any professional working on ground floor projects should be conducting calcium chloride tests or using a hygrometer to measure relative humidity in your concrete slab. No testing equipment? Walk away.
The timeline seems impossibly short. A proper 40-square-metre ground floor installation needs at least 5-7 days for polished concrete (including cure time for any repairs) and 4-6 days for tiles. Someone promising three days total is skipping critical steps.
How to Actually Get This Right
Step One: Understand Your Actual Floor Conditions
Before choosing materials, get a proper moisture test. Ground floors with readings above 75% relative humidity need serious moisture mitigation—adding £15-25 per square metre to your project but saving you from catastrophe.
Check your existing slab condition. Cracks wider than 3mm, significant lippage, or surface dusting all impact your choice and budget.
Step Two: Match Material to Reality, Not Pinterest
Polished concrete makes sense when you've got a solid slab, manageable moisture levels, and want thermal mass benefits for underfloor heating. The durability is exceptional—commercial installations last 20+ years with minimal maintenance.
Tiles work better when you need design flexibility, have an uneven substrate that's easier to level with adhesive, or want easier future modifications. Modern porcelain tiles rated for heavy commercial use will outlast cheaper "residential grade" options by decades.
Step Three: Spec the Unsexy Stuff First
Allocate 30% of your flooring budget to prep work. That means proper DPM installation, substrate repairs, and moisture barriers. A £7,000 flooring project should include £2,100 for preparation—not £500.
For concrete: insist on at least 400-grit polish for residential spaces. Anything coarser looks industrial and stains easily. Factor in £8-12 per square metre for a quality sealer that actually protects against spills.
For tiles: use flexible adhesive and grout rated for ground floor movement. The £15 extra per bag prevents 90% of cracking issues. Specify anti-fracture membranes for areas near doors and large windows.
Step Four: Build in Proper Expansion
Both materials need room to breathe. Concrete requires movement joints every 6 metres maximum. Tiles need perimeter expansion gaps and intermediate joints in larger rooms. These aren't optional decorative elements—they're structural necessities.
Prevention: The Boring Bits That Save Your Investment
Get three detailed quotes that break down prep work separately from material installation. Compare the preparation specifications, not just the bottom line.
Demand a written moisture management plan. If your contractor can't explain how they're handling potential moisture issues, they're not qualified for ground floor work.
Schedule installations during stable weather. Ground floor projects during winter or periods of high rainfall introduce unnecessary moisture complications. Spring and early autumn offer the most stable conditions.
Your ground floor doesn't need to become another cautionary tale. It just needs you to focus on the 70% of the project that nobody photographs for Instagram—the foundation work that determines whether your floor is still beautiful in year ten, or a cracked mess in year two.